
Articles & Updates
Check back here for updates and new articles from time to time. Looking for examples of my work? Hop on over to one of my portfolio pages:

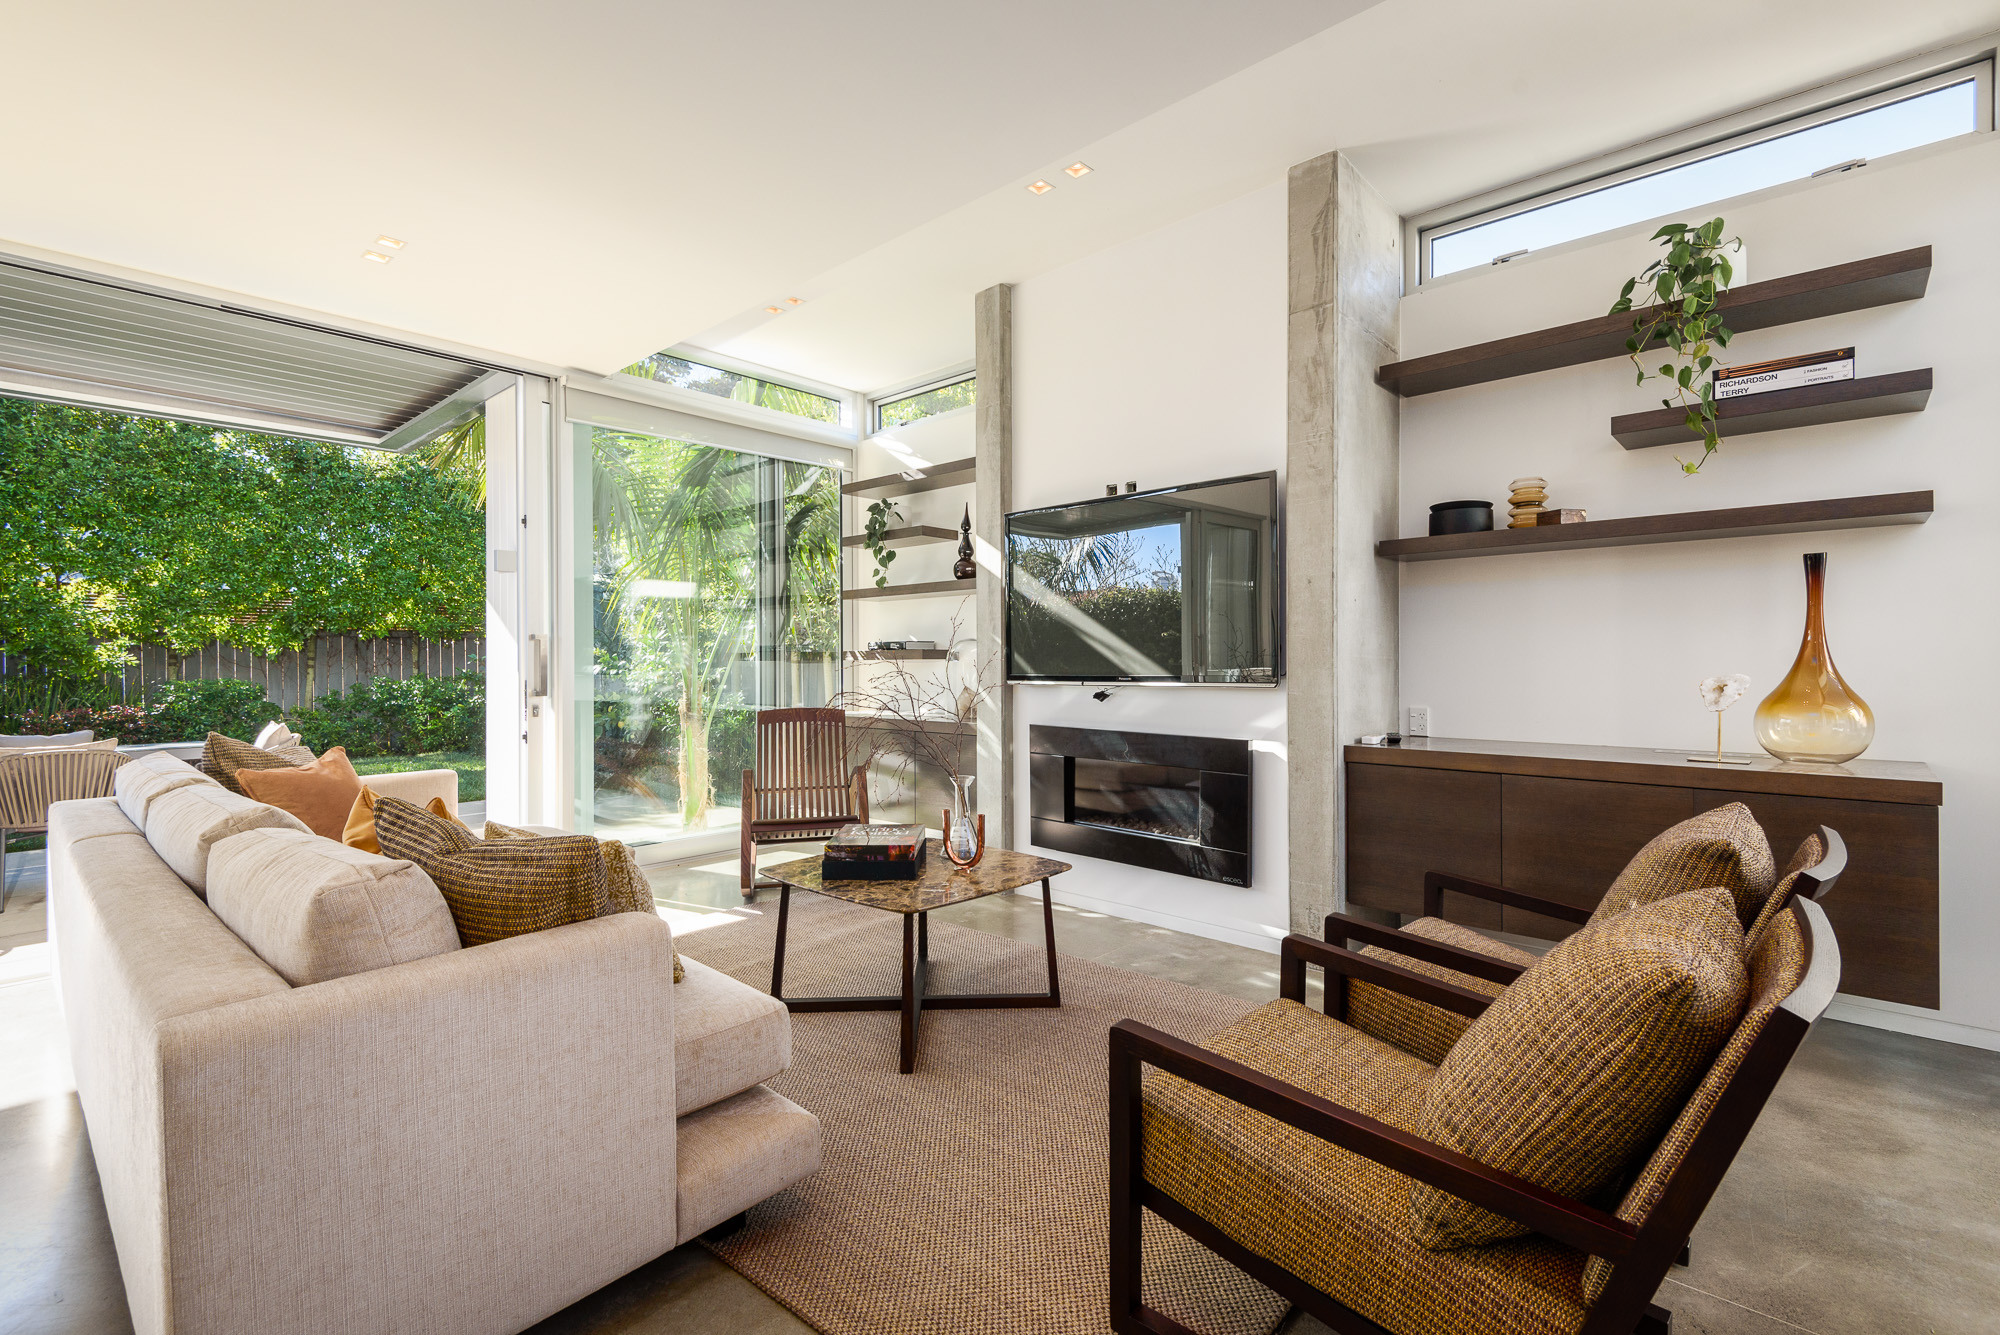
Boost your interior design portfolio by working with a photographer
In the same way that you, the designer, take a space and realise its potential, interior photographers convert your designs into a succinct and timeless representation of your creativity and hard work. Good photography is key to showcasing your design work in your portfolio - it leaves an impression on potential clients, and helps to add to your professional ‘brand’.

In the same way that you, the designer, take a space and realise its potential, interior photographers convert your designs into a succinct and timeless representation of your creativity and hard work.
Good photography is key to showcasing your design work in your portfolio - it leaves an impression on potential clients, and helps to add to your professional ‘brand’.
Taking your own photos of your projects ‘in-house’ can yield great results, provided you have the right equipment and skills. However, we sometimes find that designers don’t always have the know-how to tackle tricky lighting, compositions and complete retouching to nail that perfect image.
In fact, when your photos don’t look great, or aren’t correctly framed and exposed, the photos can hinder your impression on viewers by looking ‘off’.
Ultimately, the images of your interior design projects are how the majority of people will see your work. Because of this, working with a photographer that creates consistent and well-composed images can be of huge benefit to your business.
Let’s dive in to the details:
Present your work in a way that lands top clients
Being an interior designer is similar to working as a photographer in the sense that it’s not your craft, but your marketing that comes first and foremost. Being the best interior designer out there won’t matter if nobody knows that you exist!
In order for clients to hire you, they have to first see what similar projects you’ve worked on in the past - usually by flicking through your website.
Presentation is key when it comes to marketing - you want to look professional and organised to potential clients - so it’s no surprise that the images you use need to look professional and consistent, too.
Imagine, from a client’s perspective, flicking through a designer’s website to find a gallery of crooked iPhone photos, arranged in no particular order, showcasing their latest project. They’d likely assume that the designer was rushed or disorganised, and the photos themselves would get in the way of the content within them.
Professional photographers help you to present your work in a vibrant and accurate manner. They embellish your own hard work by utilising high-end equipment, supplemented lighting and retouching to ‘craft’ a set of images that document your project.
How does this help you? It lets you present your work in a professional manner and convinces those higher-end clients that you’re organised, you pay attention to detail and you will give them the results that they’re looking for.


Bring in a fresh set of eyes
One huge benefit of working with an interior photographer is that they haven’t been involved with your design from day one.
Seeing a project for the first time, photographers will often find unique and interesting perspectives for images, or bring in fresh ideas and a bit of creativity that you and your team may not have considered.
Interior photography and interior design are two sides of the same coin, they rely on and complement each other, and photographers will often have a new approach to photographing the space.
The skill that many photographers learn is to convert a 3-dimensional space into a 2D image. Whilst a space may look great to the eye, the trick of photography is capturing the feel of that scene in a single image. Often, a range of lenses are used to compress or widen the space in a way that nails the ‘idea’ of the scene .
A photographers knowledge of perspective, composition and balance are essential factors in making your designs look eye-catching and inviting.


Save yourself time and money
Photography equipment is a huge investment. Whilst you can certainly get an entry-level DSLR for less than $1000, they’re going to struggle to yield the best images.
The cost of hiring an interior photography certainly isn’t cheap, but this cost covers a multitude of equipment (cameras, lights, stands, lenses, to name a few), as well as years of practice and hard work to be able to deliver consistent results.
What’s more is that if having a great set of photos ends up getting a new client to convert into a sale, then the photography is an investment that pays for itself.
On top of this, photographers save you time that you’d otherwise spend setting up the camera and shooting, through to editing the final images.
In most cases, you can show up for the photoshoot with your photographer, flick through some of the images, and the rest is taken care of by the photographer, leaving you with a full set of images that are ready to go. The time saved to let you focus on other areas of your work is definitely worth the investment of hiring a photographer.
build great business relationships
As I said earlier, the fields of interior design and photography go hand-in-hand, and one great aspect of working with a photographer is that you can build working relationships with someone in a similar industry, without the risk of competing against each other.
This is great for bouncing ideas off of one another and being able to drum up some more business - referrals are a two-way street between photographers dealing with a multitude of builders, homeowners and renovators, and designers having acquaintances looking for photographers.
It’s important in a field that’s often quite introverted, especially when starting out, to have some contacts that you can see on the regular and talk shop!
We’re a team of interior photographers based in Auckland, who live for awesome spaces and love what we do. Check out some of our work here. Have an upcoming project in need of some stunning photography? Get in touch!

The DIY Home Staging Guide
So, the time has come for your home to feature in a photoshoot!
I’ve designed this guide for getting everything ready to go to ensure that your home looks as stunning as possible.
Following these simple steps to stage your home can add a huge amount of value to your photos, with the added bonus of leaving it spick and span (at least until the kids come home).
A little preparation for your shoot can go a long way.
Step one: de-clutter
In preparation for the shoot, tidy all surfaces up by removing any clutter (magazines, papers, knick- knacks). You don’t need to leave every surface spotless, but try and tuck away any unsightly collections of clutter.
For the bathrooms, make sure that you remove your shampoo and soap bottles from the shower, and take out your toothbrush. For the bedrooms, make sure that all laundry is put away and the beds are made and smoothed out.
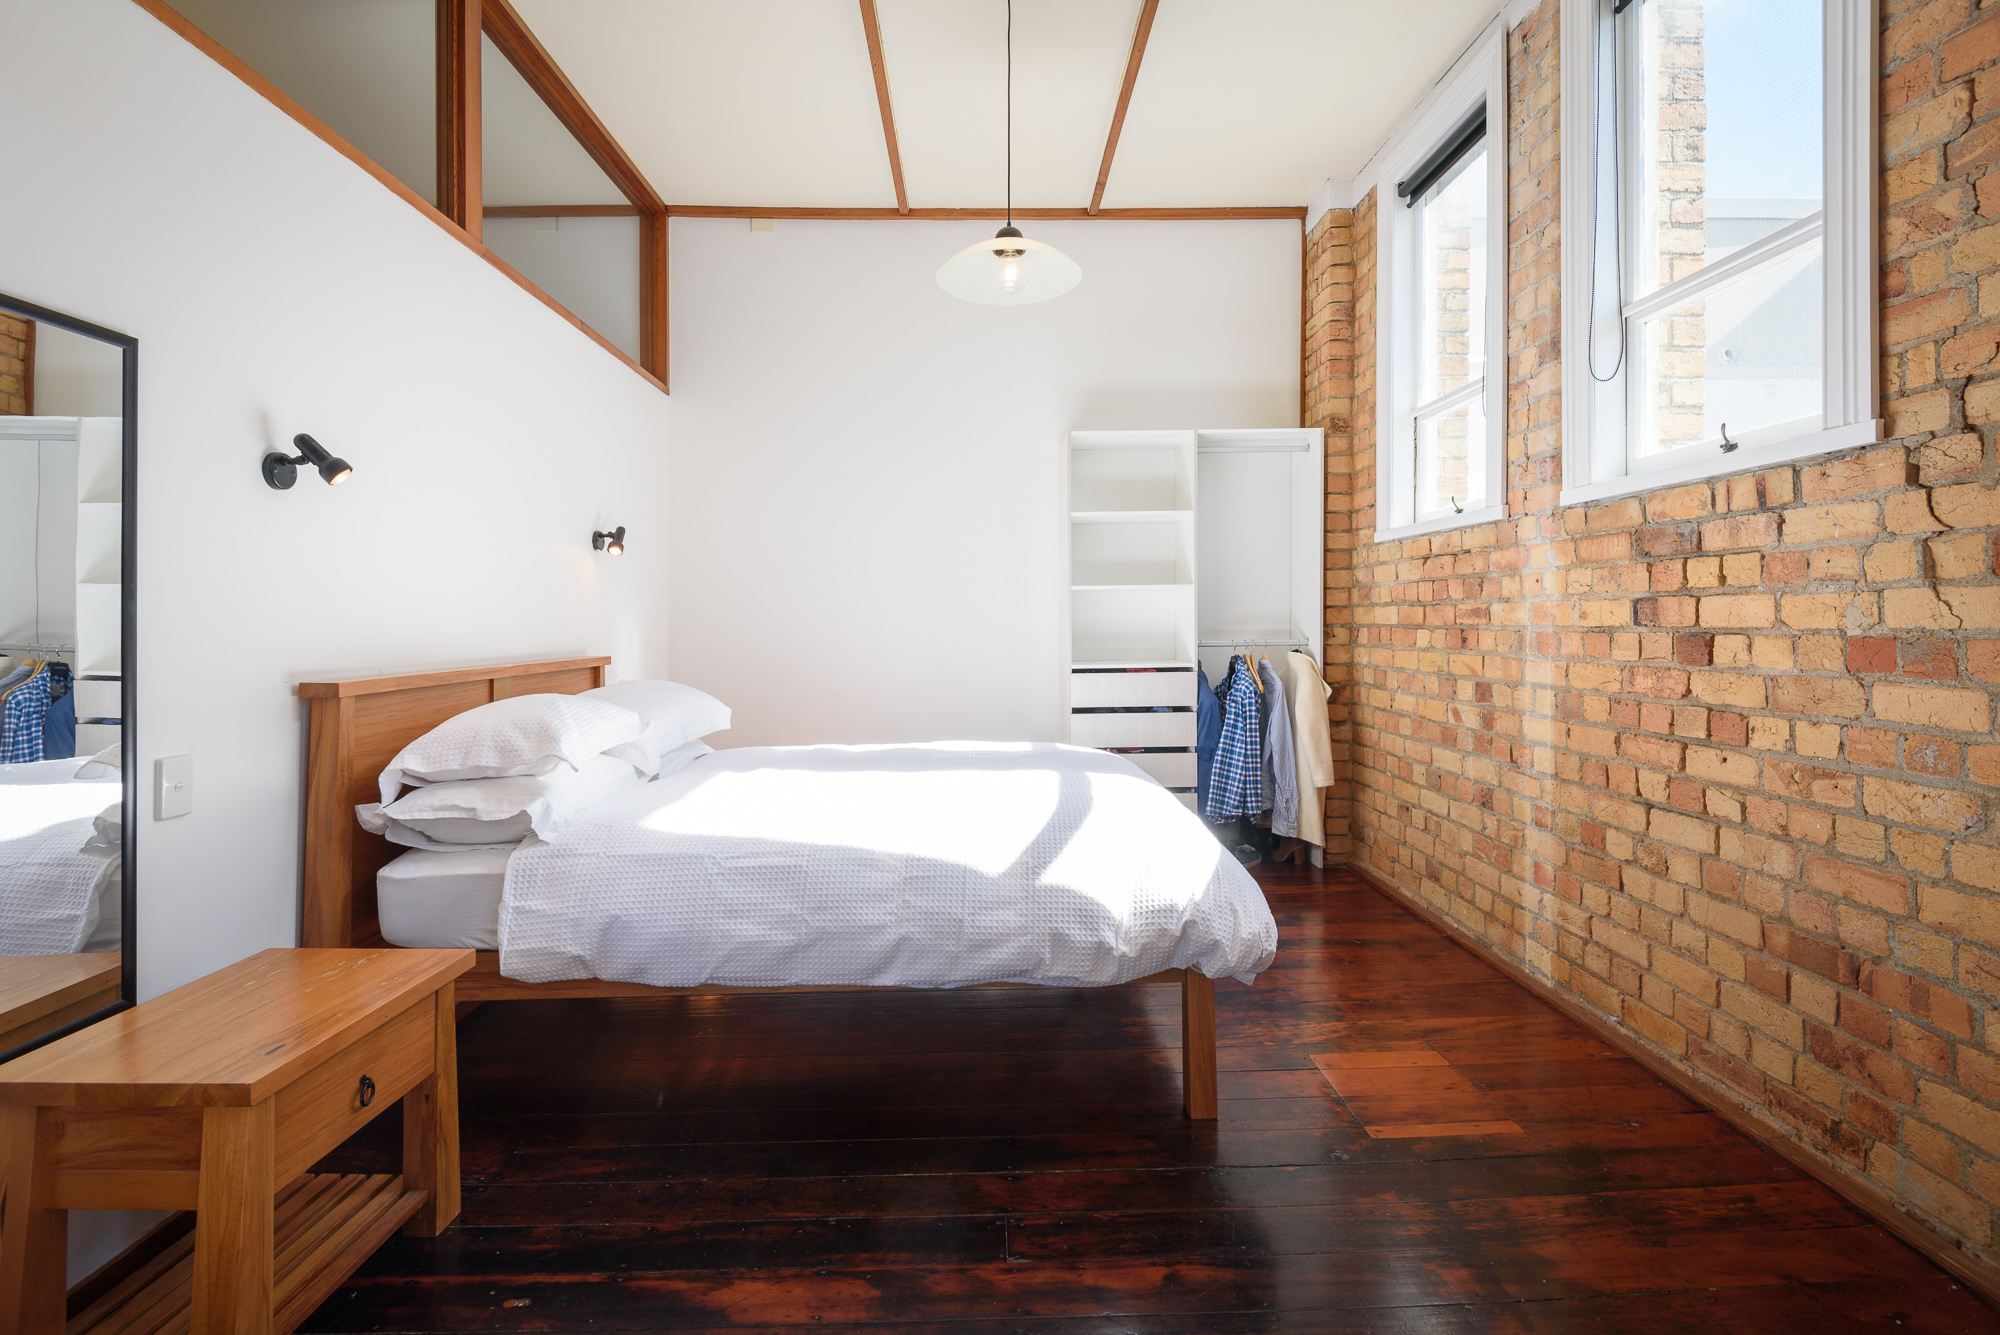
Having one or two items on display on desks and tables is ideal for photos - place an open book on the coffee table, or a bowl of fruit on the kitchen island - anything that adds a splash of colour to the scene.
It always pays to give bedrooms the hotel treatment, too - consider placing some folded towels on the corner of the beds, and make sure the pillows are sitting nicely, and so on.
Step two: de-personalise
These photos are going to show off your magnificent home to the world! But with that in mind, it pays to remove any personal items like family photos, drawings, and clothing, and leave just the essentials.

Step three: check your mirrors and showers
If you’re having your bathrooms photographed as a part of the shoot, have a quick look to make sure that there are no smudges on the mirrors, or anything like that. Along with this, try not to use the shower less than an hour before the shoot, as the water droplets will still be there in the photos. If you still need to, just give it a quick wipe down with a cloth afterwards.

Step Four: the odds and ends
In addition to the above points, here are a couple of other quick things to check:
Check that all lights inside are working, and replace any broken bulbs
If the garden/lawn is going to be featured, check that it doesn’t need mowing
If possible, hide your rubbish and recycling bins around the side of the house.

If you’ve got a 10/10 lawn, why not show it off?
And there we have it!
Hopefully this guide helps you to get the most out of your photoshoot.
Still have some questions about the do’s and don’t’s of home staging? Let us know in the comments below, or drop us a line.
Looking for some more staging inspiration?